 I love a good story, especially when it involves food. I want to know where the recipe came from as well as the why and the who. Because food, well, isn’t all that special without the context; it is the story that connects us with food and those around us. So you wouldn’t be surprised that I was disappointed to find out that one of our most beloved and consumed meals had, in fact, a rather boring past. I remember asking my mother when she first started making her macaroni and cheese, fully expecting to hear some remarkable tale of origin. Instead, discovering the recipe was from my cousin (Jeff), someone who doesn’t cook, who had acquired the recipe in his high school Home Ec class (an elective that was only intended to provide a quick and easy introduction to cooking). I also took that course in high school and the only lasting memory I have involves sampling a piece of slimy, unseasoned tofu-a terrible first experience-so I don’t find that class to be all that reputable.
Anyway, while I don’t particularly appreciate the origin of my mother’s macaroni and cheese, it was always a good one. We ate the dish regularly, likely due to its ease in preparation without sacrificing flavor (some credit due to my cousin’s Home Ec class for that). Most of the preparation is done without a stove and in the microwave so I imagine it’s even quite possible to whip up this gourmet mac ‘n cheese in a dorm room, if so desired.
I recall learning how to make this recipe at a fairly young age. First, my mother would boil the pasta (small shells, usually Barilla or some comparable brand) and set it aside. Meanwhile, she would retrieve an oven safe dish and toss in the butter which would be melted in the microwave. Then the flour was added to make a roux, followed by the milk which she whisked vigorously to combine. After the mixture was smooth, she would toss in a couple cups of medium sharp cheddar cheese and place the dish back in the microwave, whisking the mixture periodically until the cheese had melted and was combined with the other ingredients to form a thick, creamy cheese sauce. The cooked pasta was then added to the sauce and placed into the oven for 20 or so minutes until it was bubbly and hot. That was it – quick, simple but extremely satisfying and decadent. I ate this recipe well into my twenties. While there were some who tried to convince us to add sliced up hot dogs in our macaroni or sprinkle bread crumbs on top, we typically ate this dish pure, which I preferred.

 Fast forward several years and I decided I needed to find a healthier version of this beloved meal. I experimented with a hummus-based dish (just didn’t cut it for me), butternut squash macaroni and cheese, and a number of versions with roasted veggies (like this excellent one here). I then realized a rather substantial intolerance to dairy. I recall feeling at a loss for a while, uncertain if I’d experience the same nostalgic and satisfying experience of this comfort food dish again without the unfortunate physical effects of consuming dairy. Consequently, I went on a search for a new recipe-sans cheese but still as satisfying.
I finally came across this recipe for a vegan macaroni and cheese based off one of the best I’ve tried at Plum Bistro in Seattle. I spent the last year playing around with the recipe and have settled on a variation I think is best. I’ve added in some touches I think make this a more well-balanced meal (think roasted vegetables) and eliminated some of the spice and bread crumbs to create my favorite macaroni and cheese yet.
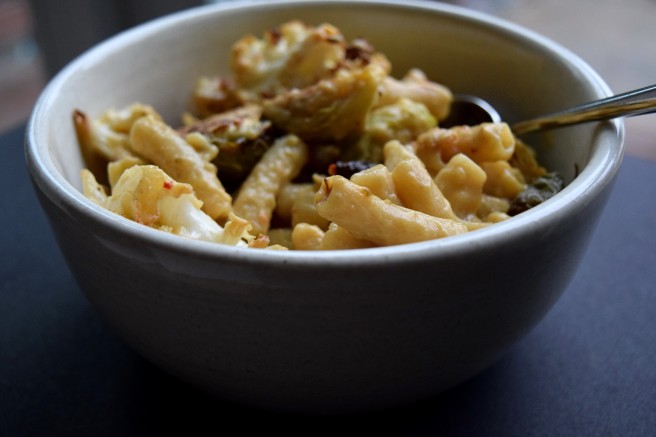
This dish is comforting and delicious. It can be customized with paprika, hot pepper flakes, bread crumbs, and using whichever veggies you prefer. I imagine it may even go over well with some bacon tossed in. Additionally, I’ve eliminated the pasta and made a gratin of sorts with just the “cheese” sauce, roasted Brussels sprouts and cauliflower which I brought to Thanksgiving last year and was an absolute hit.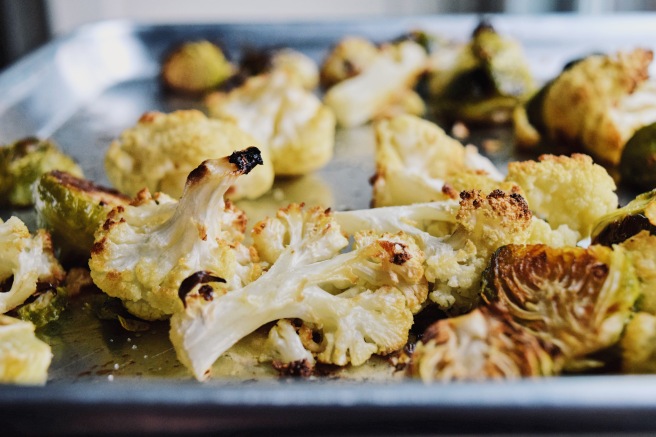
Vegan Mac ‘n Cheese with Roasted Vegetables (GF + V)
Modified from Vegan Richa, Plum’s Spicy Mac n Yease
Serves 3-4 as a main course or 5-6 as a side
Ingredients
Roasted Vegetables
1-2 heads of cauliflower, cut into medium-sized florets
1 bunch Brussels sprouts, halved
2 tablespoons olive oil
couple pinches of sea salt
Sauce
3 tbsp olive oil
1/4 cup gluten-free all-purpose flour (e.g., Namaste)
1 cup unsweetened plain almond milk
1/2 cup water
1-2 pinches sea salt
1/2 tsp garlic powder
1 tbsp oregano
1 tbsp Dijon mustard
2 tbsp Tamari
4-5 tbsp nutritional yeast
1-12 oz bag gluten-free pasta (I used Tinkyada Brown Rice pasta, any shape)
Directions
Preheat oven to 450º degrees. Toss Brussels sprouts and cauliflower with olive oil and salt and roast for 40-45 minutes until soft and crispy. Toss halfway through to ensure the vegetables roast evenly. Broil for a few minutes at the end for some extra color on the vegetables, making sure to keep a close eye so they don’t burn.
While the vegetables are roasting, boil a pot of water with a pinch of salt. Cook pasta as directed on package. Drain and set aside.
While pasta is cooking, heat a medium-sized sauce pan over medium. Add olive oil and flour. Whisk to create a roux, taking care not to burn the mixture. Add milk and water to the pan and whisk until smooth and the sauce begins to thicken. Add salt, garlic powder, oregano, mustard, Tamari, and nutritional yeast. Whisk to combine. If desired, use a little extra milk to thin sauce. Taste and adjust seasoning. This would be a good time to add any red pepper flakes, paprika, and/or cayenne pepper (approximately 1/4-1/2 tsp), if you prefer some heat.
Add pasta directly to the sauce. Mix in roasted vegetables (including crispy bits – the best part). Serve immediately.
If leaving out the pasta and serving as a vegetable side dish, I toss the vegetables into a shallow baking dish and cover with the sauce. This can be served immediately or warmed in the oven with foil on top.
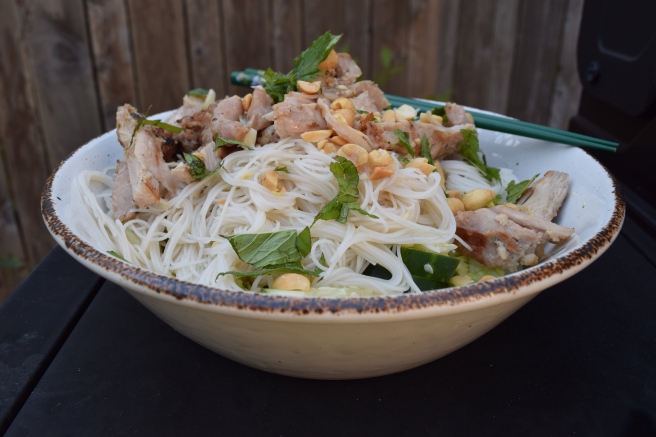 It seems that most people have their standby restaurants – those they turn to after a long day at work, to visit with friends, or when a craving hits. I have a couple that come to mind, many of them in my neighborhood or fairly nearby. However, one of my standby’s is worth the trek into the city, up the hill, and through the traffic on a busy weeknight. For at least the past year,
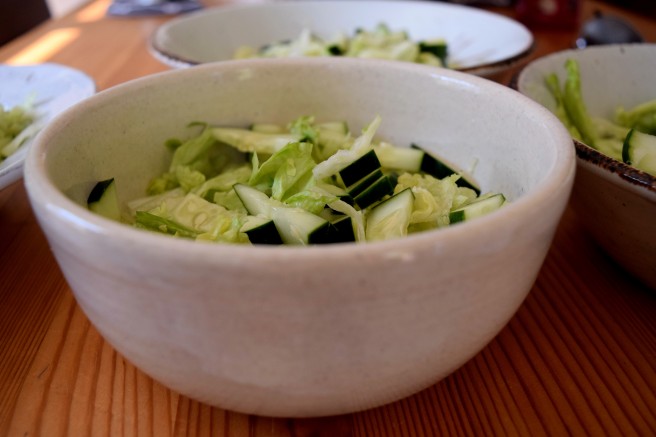
 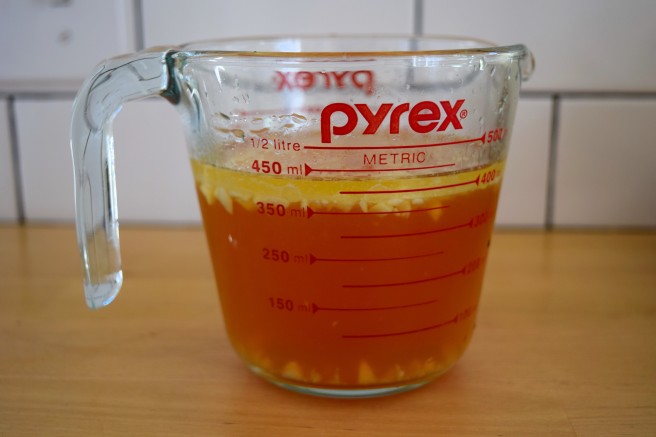 Chop the lettuce, cucumbers, peanuts, and mint. In two wide-mouthed bowls, divide the lettuce and cucumbers. Top with the vermicelli.
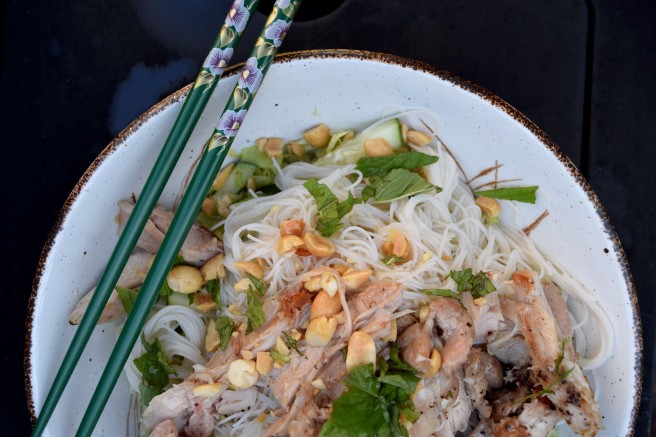 I encourage my guests to toss their bowls to mix the ingredients which allows the vinaigrette to evenly coat the ingredients and provide a more complex set of flavors with each bite. Enjoy this outside on the patio on a warm Spring evening like I did last night.